stella@honxin.net.cn
+86 13559557730

Email cannot be empty
Password cannot be empty
Email format error
Email cannot be empty
Email already exists
6-20 characters(letters plus numbers only)
The password is inconsistent
Email format error
Email cannot be empty
Email does not exist
6-20 characters(letters plus numbers only)
The password is inconsistent
Sewing bias tape binding is more than just a finishing technique; it’s a way to add durability, flexibility, and a touch of professionalism to your sewing projects. Whether you’re a beginner looking to refine your skills or an experienced sewist aiming for perfection, this guide will walk you through the process of sewing bias tape binding with precision and flair. We’ll cover everything from selecting the right materials to troubleshooting common issues, ensuring that your finished projects look impeccable from every angle.
Understanding Bias Tape Binding:
Bias tape is a versatile and essential tool in the world of sewing. Cut on the bias, it provides the perfect amount of stretch to neatly finish curved edges, armholes, and necklines. Sewing bias tape binding involves wrapping this stretchy strip around the raw edges of your fabric, securing it in place to create a clean and attractive edge. It’s a technique that not only conceals any fraying but also adds a decorative element to your work.
Choosing the Right Bias Tape:
The key to successful bias tape binding lies in selecting the right type for your project. Consider the fabric’s weight and the level of flexibility needed. For garments that require a bit of stretch, such as athletic wear, you might opt for a bias tape that incorporates athletic elastic tape to maintain the fabric’s elasticity. The width of the bias tape is also important; wider tape can be easier to work with and provides more coverage, while narrower tape is ideal for delicate projects.
Preparing Your Fabric:
Pre-Wash Your Fabric: Pre-washing ensures that there will be no unwanted shrinkage after your project is complete, which could affect the fit and appearance of your bias tape binding.
Ironing and Cutting: Press your fabric to remove any wrinkles, ensuring a smooth surface for cutting. Use sharp scissors or a rotary cutter to cut your fabric pieces accurately, following your pattern or measurements.
Marking Your Edges: With tailor’s chalk or a fabric marker, lightly mark where the bias tape will be sewn. This step is crucial for achieving even and consistent binding.
Sewing Bias Tape Binding Step-by-Step:
Attaching the Bias Tape: Begin by opening one fold of the bias tape and aligning its raw edge with the raw edge of your fabric, right sides together. Pin in place, taking care to evenly distribute the tape along curves.
Sewing the First Fold: Stitch along the crease of the first fold, which should be close to the edge of the fabric. This initial stitching will secure the bias tape to the fabric.
Folding and Pressing: Fold the bias tape over the raw edge, encasing it completely. Use an iron to press the fold, ensuring a crisp and flat edge.
Stitching in the Ditch: Sew along the seam line, or “ditch,” created by the first stitching. This will secure the other side of the bias tape, making the binding nearly invisible on the right side of the fabric.
Finishing the Ends: To finish, neatly tuck and fold the ends of the bias tape under to prevent fraying and give a polished appearance.
Advanced Techniques:
Mitered Corners with Bias Tape: Mitered corners are a sophisticated way to handle 90-degree angles. This technique involves folding and stitching the bias tape in a specific manner to create a neat, diagonal seam at the corner.
Sewing Bias Tape Binding on Curves: Binding curves can be challenging, but with careful pinning and gradual stitching, you can achieve a smooth, pucker-free finish.
Joining Ends of Bias Tape Seamlessly: When you come full circle with your bias tape, join the ends by folding one end inside the other and stitching them together for a seamless look.
Incorporating Elastic Elements:
In projects like skirts or children’s clothing, where an adjustable fit is desired, sewing an elastic waistband for sale into your design can add both comfort and functionality. This can be done by creating a casing with the bias tape and threading the elastic through it.
Customizing with Bias Tape:
Custom Ribbon Labels: Use bias tape to create custom labels for your garments or crafts. You can print, stamp, or embroider your brand name or care instructions onto the tape before attaching it to your project.
Brand Patches for Clothes: Sewing brand patches for clothes onto your projects can add a professional touch. Bias tape can be used to frame the patch or to create a loop for attaching it.
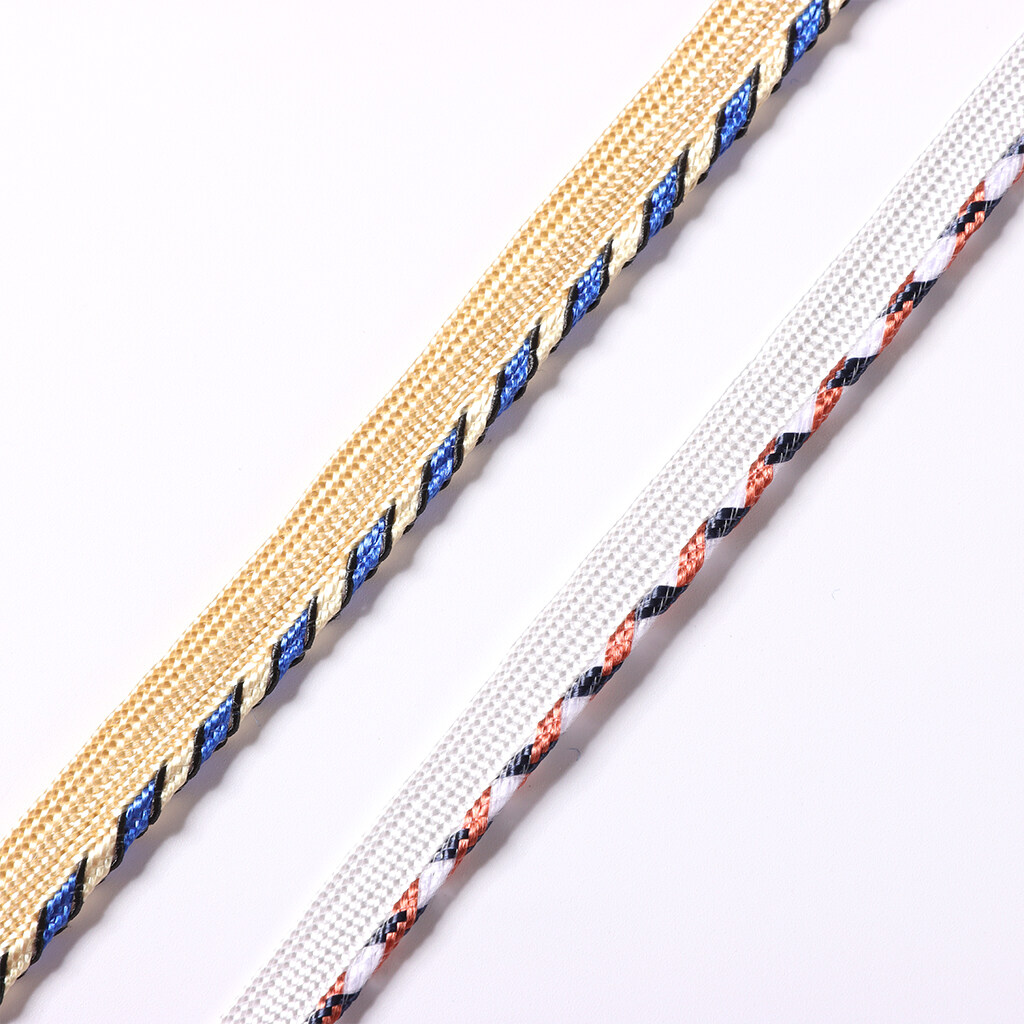
Twisted Cord Trim: For a decorative edge, sew twisted cord trim along with the bias tape. This can add texture and visual interest to pillows, bags, and clothing.
Custom Rubber Patch: Add a unique element to your project with a custom rubber patch. Sew it onto your project with a border of bias tape for a clean finish and added durability.
Troubleshooting Common Issues:
Uneven Stitching: Practice maintaining an even tension and stitch length. Use sewing pins or clips to hold the bias tape in place as you sew.
Bias Tape Not Laying Flat: If your bias tape is puckering or not lying flat, try adjusting the tension on your sewing machine or pressing the tape with an iron before and after sewing.
Mismatched Seams: When joining pieces of fabric with bias tape, ensure that the seams are perfectly aligned before sewing. This may require basting the tape in place first.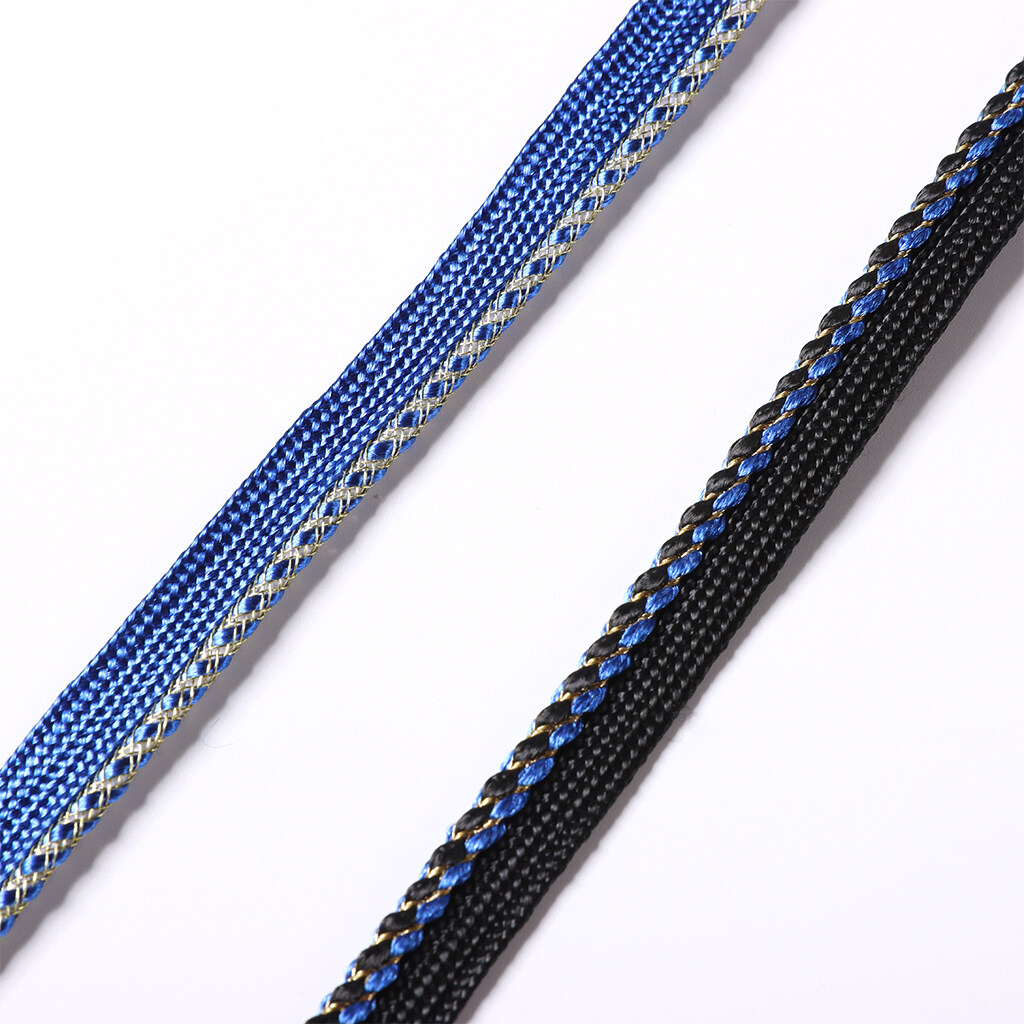
Conclusion:
Sewing bias tape binding is a skill that can significantly enhance the finish of your sewing projects. With the right materials and techniques, you can achieve a clean, professional look that stands up to wear and tear. Remember to take your time, especially when working with curves or corners, and don’t be afraid to unpick and try again if things don’t look quite right. With practice, you’ll find that sewing bias tape binding becomes second nature, and you’ll be able to tackle any project with confidence. Happy sewing!