Email cannot be empty
Password cannot be empty
Email format error
Email cannot be empty
Email already exists
6-20 characters(letters plus numbers only)
The password is inconsistent
Email format error
Email cannot be empty
Email does not exist
6-20 characters(letters plus numbers only)
The password is inconsistent


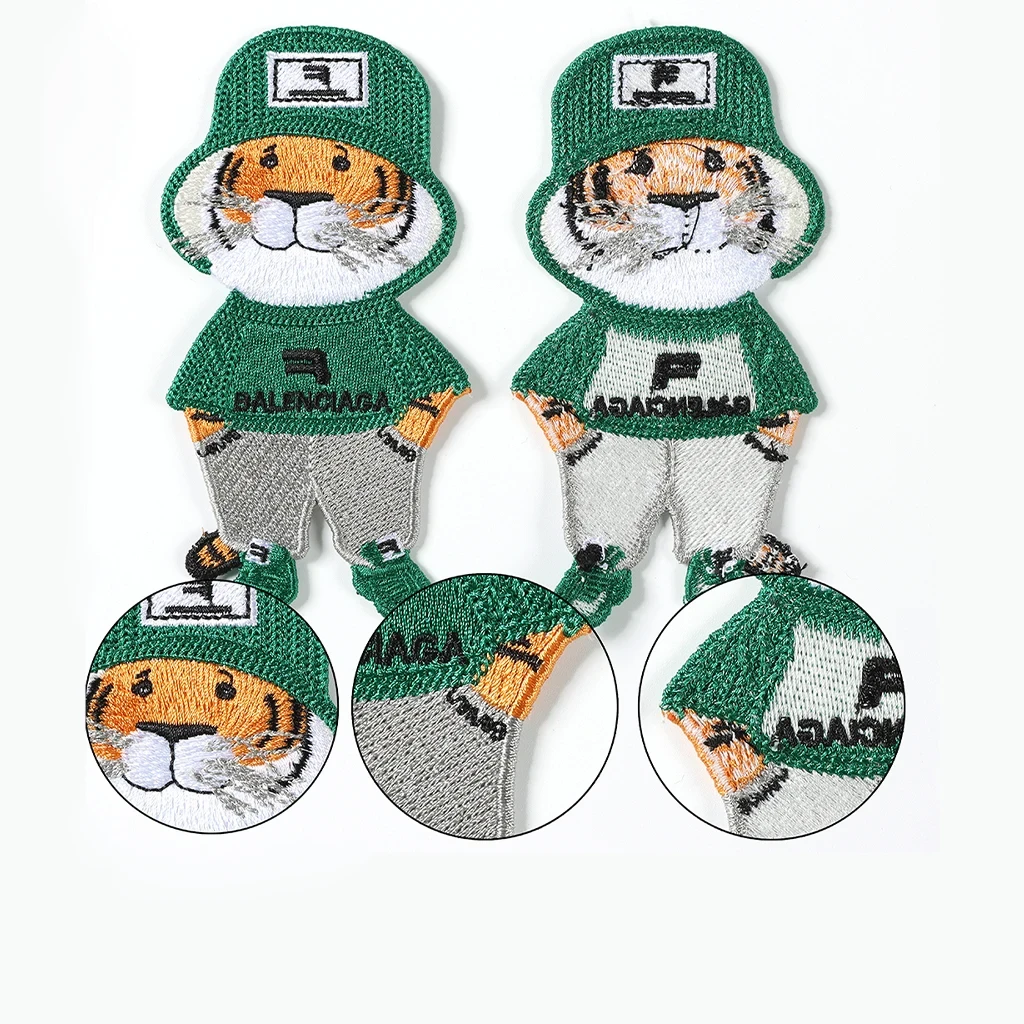
In the ever-evolving world of fashion, creativity and personal expression are at the forefront. One of the most exciting trends that has gained significant popularity is the use of designer patches for clothes. These small but impactful embellishments can transform even the simplest garments into statement pieces. Let's dive into the world of designer patches, exploring their history, versatility, and how you can incorporate them into your wardrobe.
Designer patches for clothes have a rich history that dates back to ancient times. Originally, patches were used for practical purposes – to mend holes and extend the life of garments. In the military, patches served as insignias, denoting rank and division. Over time, these practical applications evolved into a form of artistic expression.
In the 1960s and 70s, patches became symbols of counterculture movements. From peace symbols to rock band logos, patches were a way for individuals to showcase their beliefs and affiliations. This era laid the groundwork for the modern use of patches in fashion, where they are now celebrated as unique accessories that add flair and personality to clothing.
One of the most appealing aspects of designer patches for clothes is their versatility. They can be used on virtually any type of garment, from jeans and jackets to hats and bags. Here are some creative ways to incorporate designer patches into your wardrobe:
1. Denim Jackets and Jeans: Denim and patches are a match made in fashion heaven. Add a touch of rebellion to your denim jacket with a few well-placed patches. For jeans, try patches on the knees or pockets for a trendy, distressed look.
2. T-Shirts and Hoodies: A plain t-shirt or hoodie can instantly become a unique piece with the addition of a designer patch. Choose patches that reflect your interests or favorite brands for a personalized touch.
3. Bags and Accessories: Don't limit patches to clothing alone. Decorate your backpacks, tote bags, and even hats with patches to create a cohesive, stylish look.
4. Shoes: Customizing shoes with patches is a growing trend. Whether it’s a pair of sneakers or boots, patches can add a playful and distinctive element to your footwear.
When selecting designer patches for clothes, consider the following factors:
- Material: Patches come in various materials, including embroidered, woven, and printed. Embroidered patches are durable and offer a classic look, while woven patches are detailed and lightweight. Printed patches provide vibrant colors and intricate designs.
- Design: Choose patches that resonate with your personal style. Whether it’s a vintage floral design, a bold graphic, or a quirky cartoon, the right patch can make a significant statement.
- Size: The size of the patch matters. Larger patches are perfect for making bold statements, while smaller patches can be used for subtle embellishments or to create patterns.

Applying designer patches to clothes is a straightforward process, but it does require some basic know-how. Here are a few methods:
1. Iron-On: Many patches come with an adhesive backing that can be activated with heat. Simply place the patch on your garment, cover it with a cloth, and press with a hot iron. This method is quick and effective for most fabrics.
2. Sew-On: For a more permanent application, sew the patches onto your clothes. This method ensures that the patches stay in place, even after multiple washes. Use a sewing machine or hand stitch for precise placement.
3. Velcro: Some patches are designed with Velcro backing, allowing you to switch them out easily. This is ideal for those who like to frequently change up their look.
For those who love to get crafty, creating your own designer patches can be a fun and rewarding project. Here’s a simple DIY guide:
1. Materials Needed: Fabric, embroidery thread, needles, scissors, and a patch template.
2. Design: Draw or print your desired design on paper. Cut it out to use as a template.
3. Cut the Fabric: Place the template on your fabric and cut around it, leaving a small margin.
4. Embroidery: Use embroidery thread and needles to stitch the design onto the fabric. This can be as simple or intricate as you like.
5. Finish: Trim any excess fabric and your patch is ready to be applied to your garment.
To ensure your clothes with designer patches last long and remain in great condition, follow these care tips:
- Washing: Turn garments inside out before washing to protect the patches. Use a gentle cycle and cold water.
- Drying: Air drying is preferable. If you use a dryer, opt for a low heat setting to avoid damaging the patches.
- Ironing: When ironing clothes with patches, use a pressing cloth to protect the patches from direct heat.
Designer patches for clothes are more than just embellishments; they are a form of self-expression and a way to breathe new life into your wardrobe. Whether you buy them from your favorite designers or create your own, patches offer endless possibilities for creativity and style. So, embrace this fun trend and let your clothes tell your story, one patch at a time.